This blog post describes how me and my friend developed an assistive technology device for our dear friend.
What is assistive technology?
From Wikipedia: Assistive technology (AT) is a term for assistive, adaptive, and rehabilitative devices for people with disabilities and the elderly. Disabled people often have difficulty performing activities of daily living (ADLs) independently, or even with assistance. ADLs are self-care activities that include toileting, mobility (ambulation), eating, bathing, dressing, grooming, and personal device care. Assistive technology can ameliorate the effects of disabilities that limit the ability to perform ADLs. Assistive technology promotes greater independence by enabling people to perform tasks they were formerly unable to accomplish, or had great difficulty accomplishing, by providing enhancements to, or changing methods of interacting with, the technology needed to accomplish such tasks. You can read more about assistive technology and accessibility from their respective Wikipedia articles.
The requirement
A friend of mine recently underwent a surgery in which an adamantinoma (a rare bone cancer type) tumor was removed from his left tibia (shinbone). In the operation, about 20 centimeters of the tibia was removed and replaced with parts of his right fibule (calf bone) and titanium. The operation itself went all right and the tumor should be completely removed. However, it left my friend rather disabled - he can only move wearing a removable plaster cast in his left leg with either using walking crutches or a wheelchair. Also, because he should be resting the leg as much as possible without wearing the removable plaster, getting up from bed or sofa takes some time since he needs to first put it back on. Every time someone comes to his door to help him in daily chores that he may not be able to himself, they need to wait for him to put on the plaster and creep to the door to let them in.
If you didn’t guess it already from the title of this post - we decided to make him a remote door lock to make his life a little bit easier. With the remote lock he could open the door from wherever he was, as long as he had his mobile phone with him.
The idea
The original idea came from yours truly - I had a similar need when I was in high school and something like 17 or 18 years old. I had lost my keys to my (parents’) home, and they were so mad about it that they weren’t willing to create a new set of keys to substitute my lost keys. So I basically didn’t have keys to my home. After a couple of times when I would’ve been the first one to come home after my school day but nobody was there to open the door for me I got so frustrated that I decided to actually do something about it. I bought a USB servo controller and external microphone, wired them up to my then-invaluable laptop, set up the servo with a short string wired and taped to the door lock and wired the microphone outside. With a babbys first-style C# program using Microsoft Sound API (SAPI) for speech recognition and Polulu USB Servo Controller (USC) API I was able to open my door by casting a spell (speaking out loud a secret code) to open my door. Truly magical!
Actually this happened almost precisely ten years ago - you can check my professional grade YouTube video about that remote lock mechanism.
The implementation
We decided to make something similar to my 10-year-old remote lock system. However, as we are now adults and have access to better tools, we decided to make it the proper way. We would still use a servo to rotate the lock mechanism but instead of using sketchy installation consisting of string and tape, we decided to 3D-print the complete mechanism that would be attached to the door. The 3D-print also accommodates space for a box that contains an ESP32 which will be used to open the door remotely. No more dedicated laptop required!
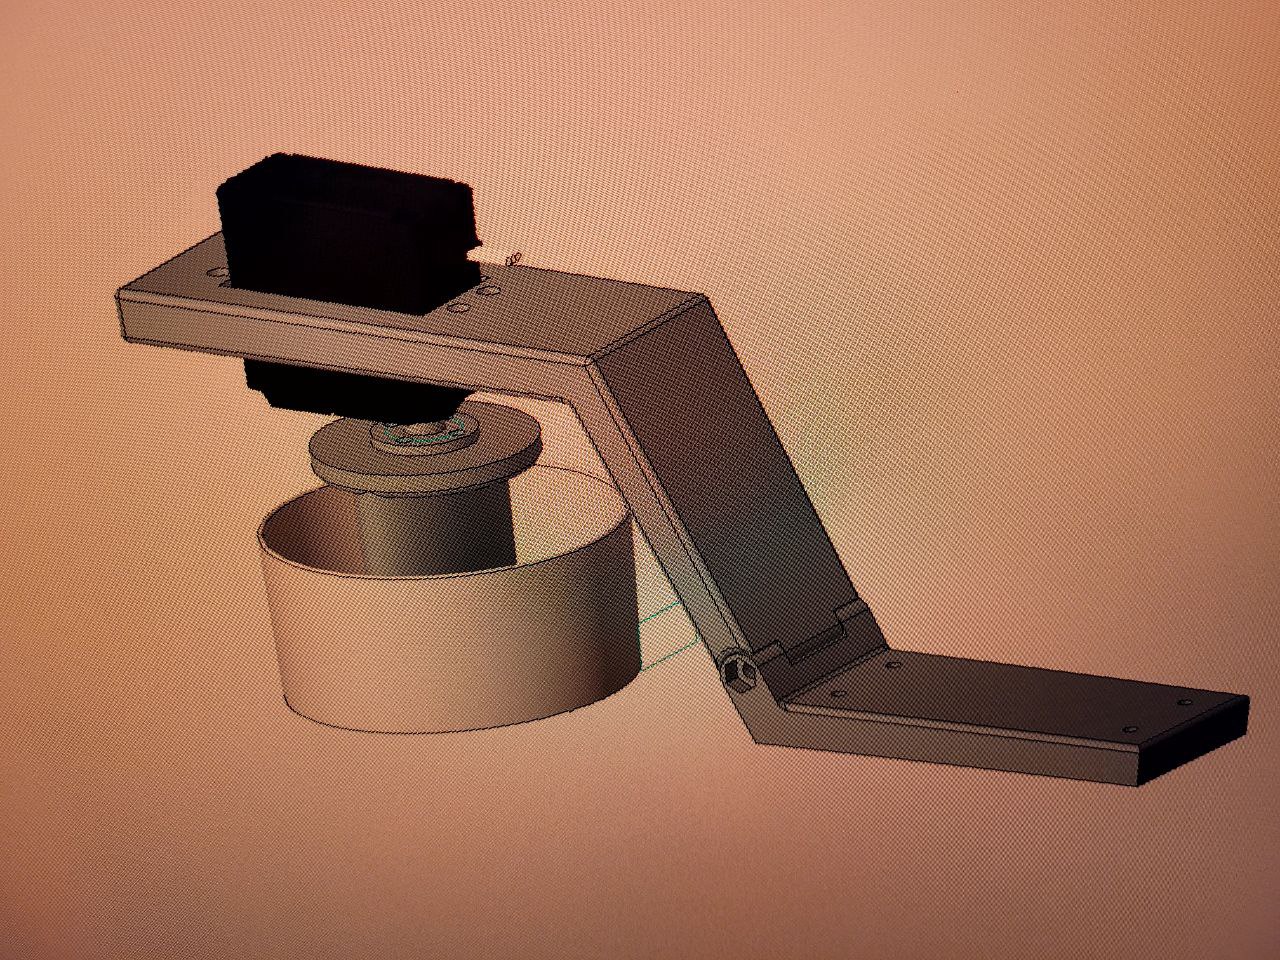 Figure 1: Initial 3D model of the mechanism
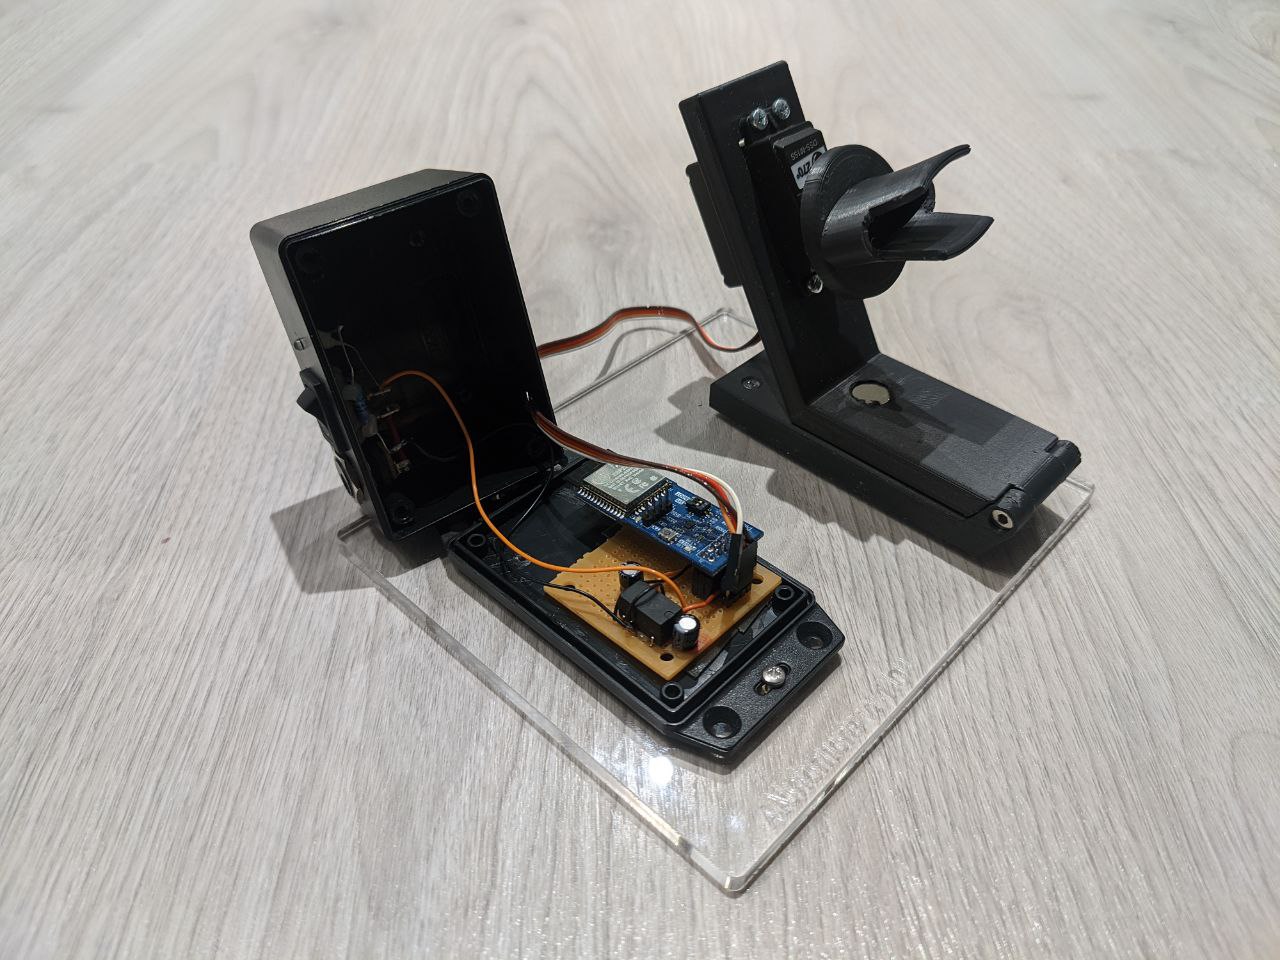 Figure 2: Alohomora V1.0
As you can see, we needed to make some adjustments to the lock mechanism turning part that is attached to the servo (figure 2). The original print did not quite fit and was popping out from the lock mechanism. A quick meltdown for the print in boiling water and little bending afterwards did the trick and now the system fits perfectly to the lock mechanism!
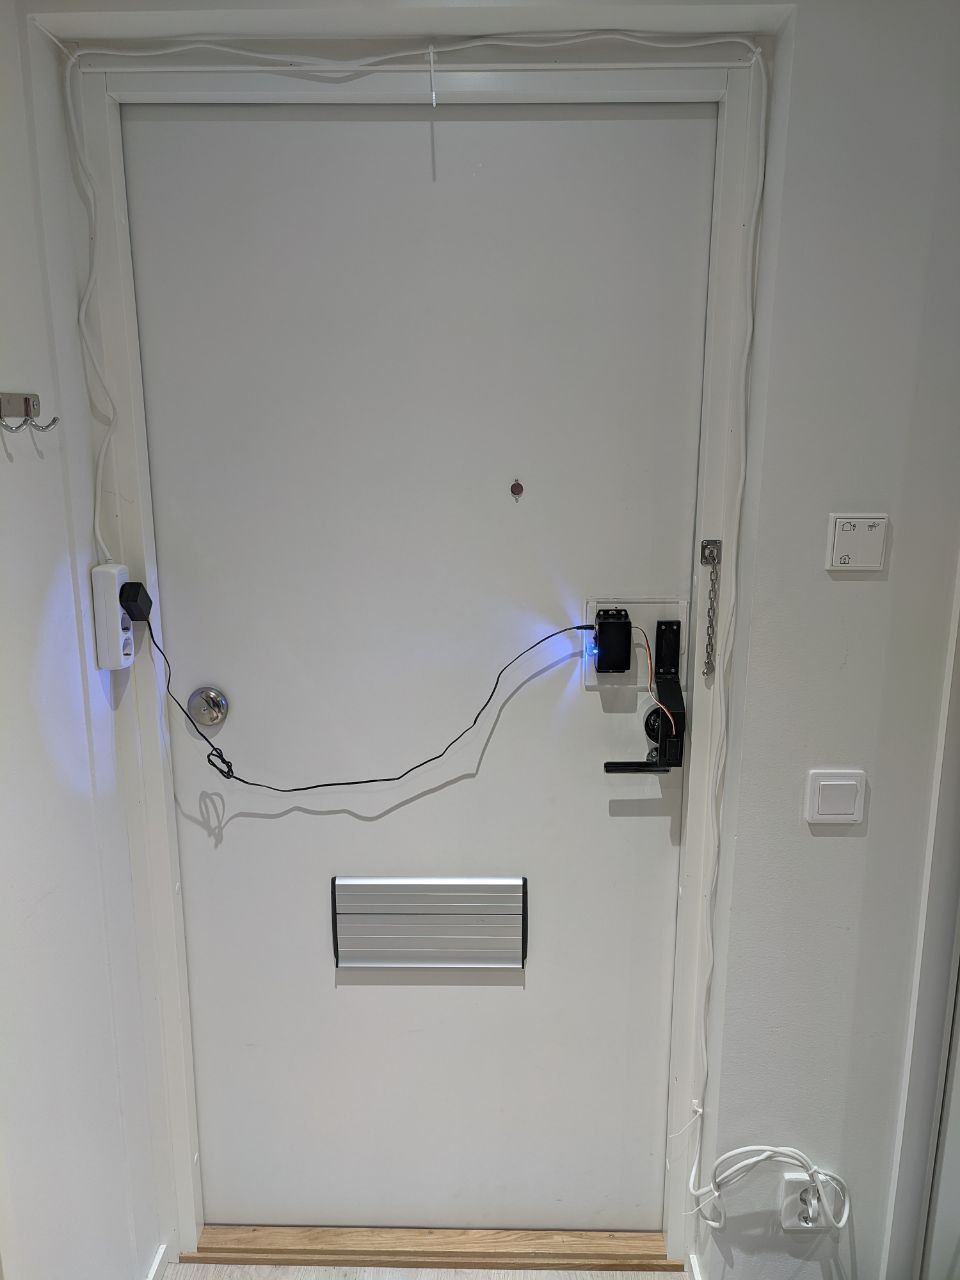 Figure 2: Alohomora installed to my friend’s door
Below you can find videos showcasing the use of our system. The ESP32 is connected to the home WLAN and serves a simple HTML page. With the right HTTP GET request, the ESP32 application will start rotating the servo (and open the lock).